PLAN & PAINT · HOMEOWNER GUIDE
What Photos Do You Need for a Home Paint Visualization?
For a useful exterior model, photograph the front, back, left side, and right side of your house, then add corner views and important details. Aim to show the full walls and roofline in clear daylight.
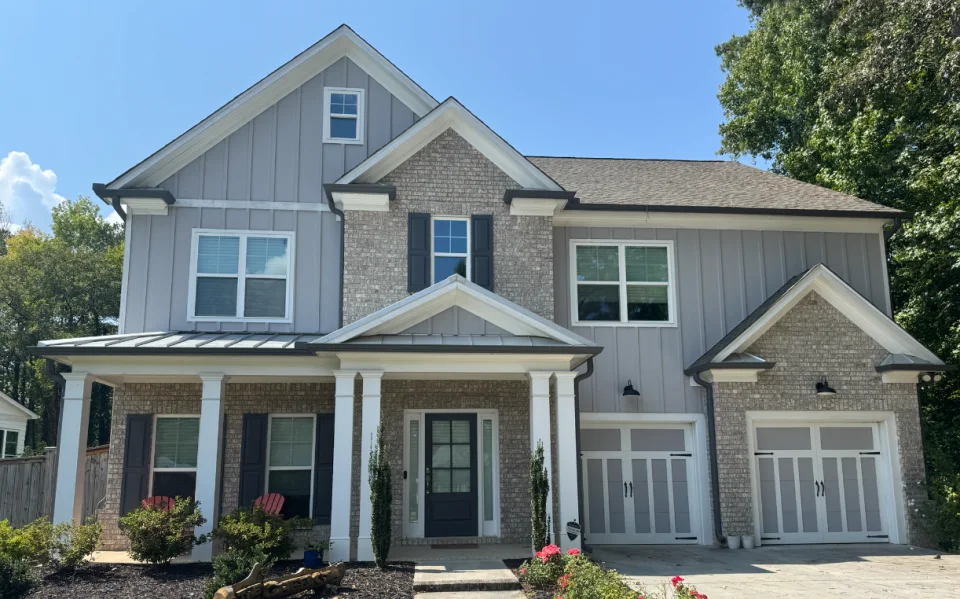
Your photo checklist
- Front: the full facade, roofline, entrance, and attached garage if present.
- Back: the rear walls, roof, and attached structures.
- Left and right sides: as much of each wall and its roofline as you can safely capture.
- Corners: views showing how neighboring walls and roof sections connect.
- Details: close-ups of porches, unusual windows, roof changes, or features hidden in wider photos.
Make the shape easy to see
Step back far enough to include the whole side when possible. Keep the camera level, avoid heavy filters, and check for blur. If a tree or vehicle hides part of the house, add another angle. Stay on areas you can safely and legally access; you do not need to climb onto the roof.
Add notes for anything unclear
Label the views and explain what is obscured or missing. If you know a reliable measurement, include its value, units, and the feature it describes. Do not guess measurements to make a submission look complete.
What if I cannot photograph every side?
You can submit the available photos. Missing views may limit the model’s accuracy, and our team may ask for more information before approval. Unseen areas can require approximations.
Upload, then submit
After starting your Plan & Paint project and applying payment or a free home credit, upload the photos to that project. Review the set and choose Submit photos for preparation. Saved draft photos are not yet a submitted generation request.
What happens next?
We generate the exterior model and manually review it. Your account shows progress, and we’ll email you once it is approved or if we need more information. Photos remain private for preparation, reference, and corrections; approval does not automatically delete them. See our privacy policy.
Keep your front photo for the final preview
Your original front photo is also used for the final paint preview. Keep it attached to your project after model approval. Once you choose colors, select “Photo generate” to compare the original with the painted result. See the before-and-after example.